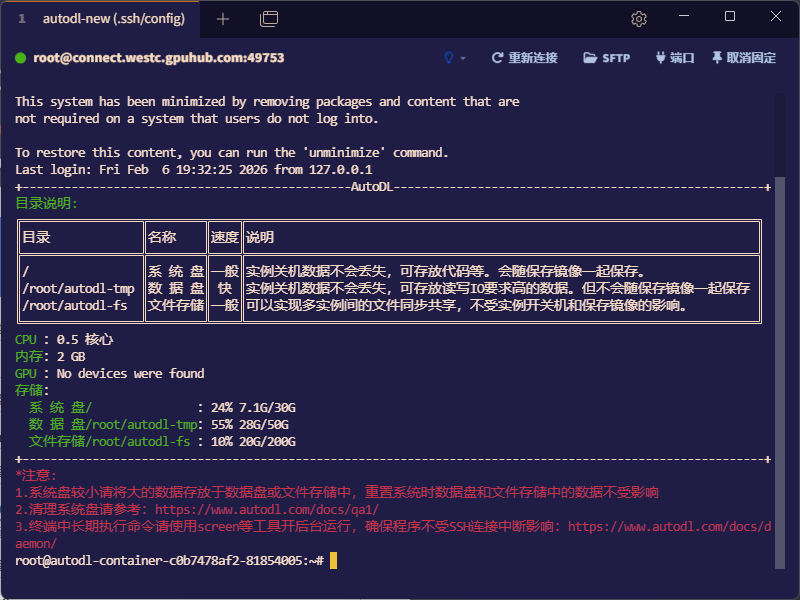
安装VLLM
下载 uv工具(需要有 Python环境)
1 | pip install uv -i https://pypi.tuna.tsinghua.edu.cn/simple |
创建虚拟环境
1 | cd ~/autodl-tmp/ && uv venv --python 3.12 && source .venv/bin/activate |
安装pytorch
1 | source .venv/bin/activate |
1 | uv pip install torch torchvision torchaudio --index-url https://mirrors.nju.edu.cn/pytorch/whl/cu126 |
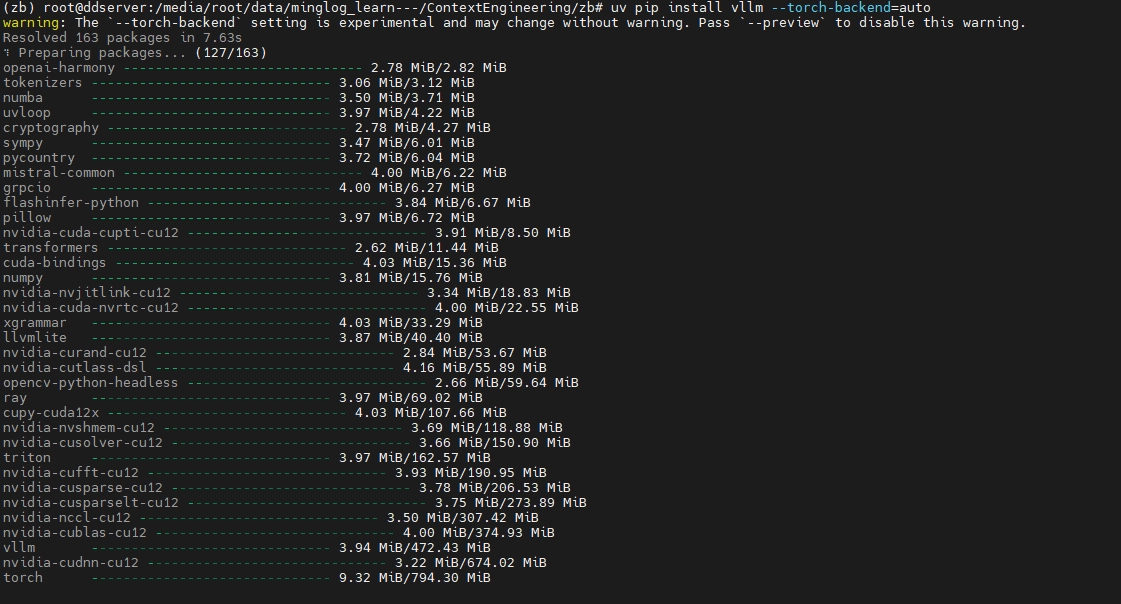
安装 vllm
1 | uv pip install vllm --torch-backend=auto -i https://mirrors.aliyun.com/pypi/simple/ --trusted-host=mirrors.aliyun.com |
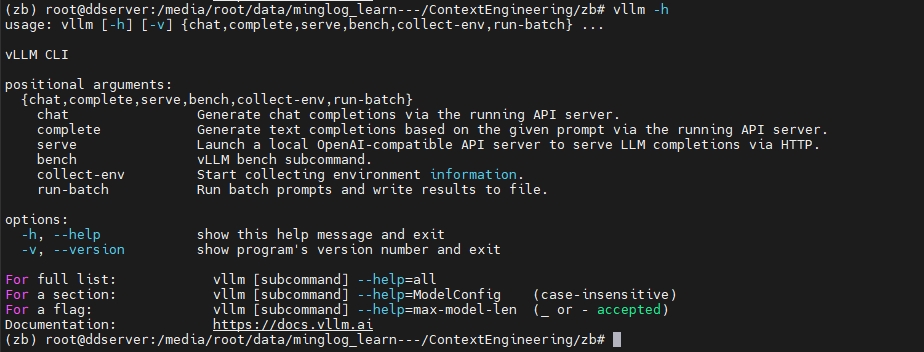
查看是否安装成功
1 | vllm -h |
有以下返回内容,说明安装成功。
下载模型文件【模型文件已下载完成】
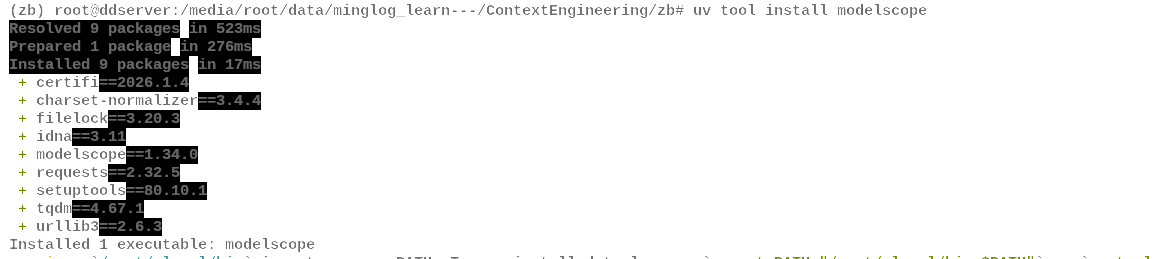
安装 modelscope工具
1 | uv pip install modelscope |
查看是否安装成功
1 | modelscope -h |

在当前文件夹下下载模型文件
1 | modelscope download Qwen/Qwen3-8B-AWQ --local_dir ./Qwen3-8B-AWQ |
同样,下载 embedding模型和 Rerank模型
1 | modelscope download BAAI/bge-m3 --local_dir ./bge-m3 |
使用
hf工具过程如下所示:设置
huggingface国内镜像
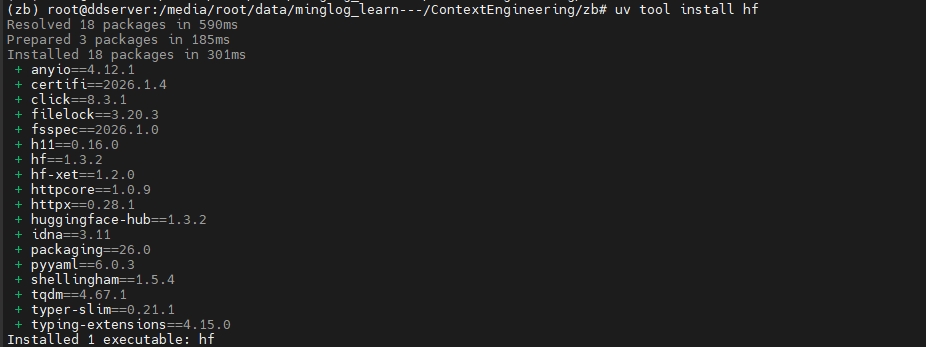
安装
hf工具
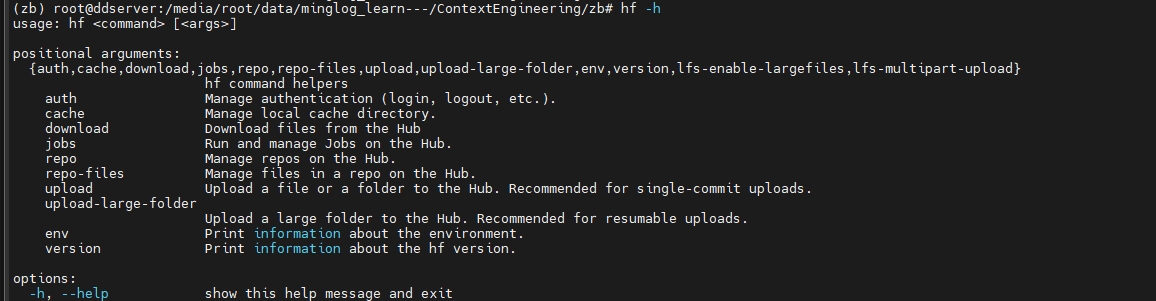
查看是否安装成功
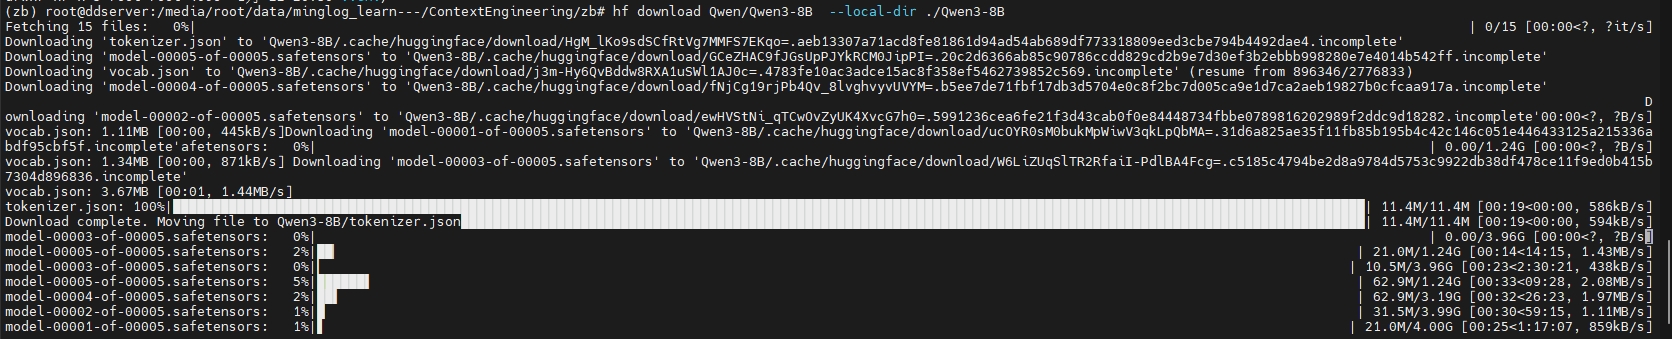
在当前文件夹下下载模型文件
同样,下载
embedding模型和Rerank模型
2
hf download BAAI/bge-reranker-base --local-dir ./bge-reranker
端口映射
使用Tabby
首先使用Tabby登录远程环境
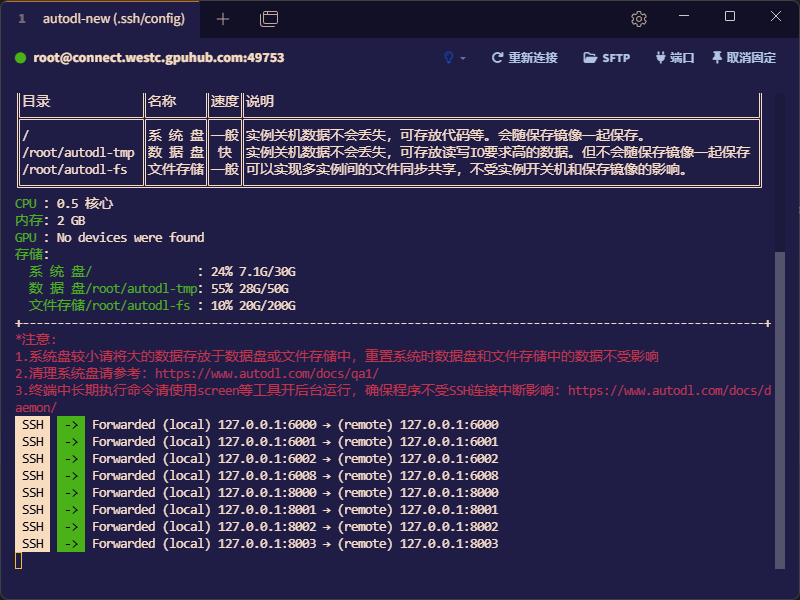
点击右上角的端口,输入端口进行配置。
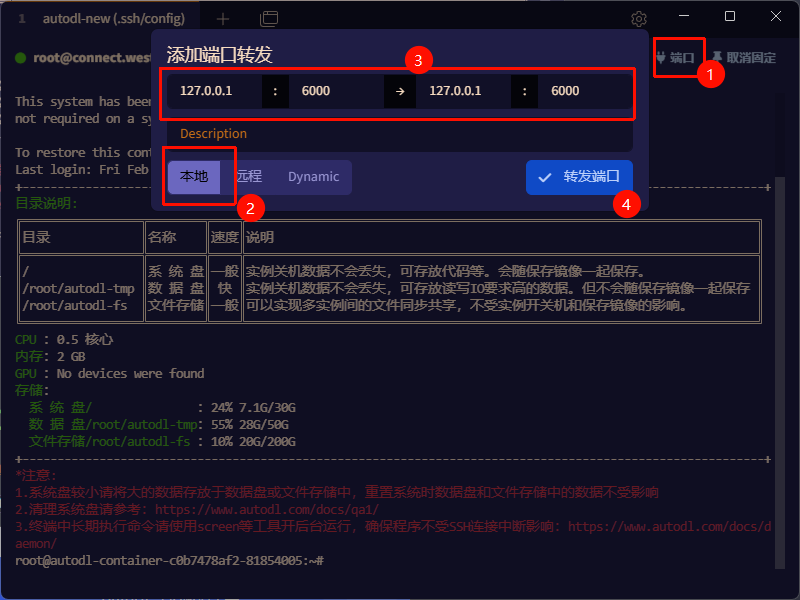
图示就是将远程的6000端口转发到本地的6000端口
前一个是本地的端口,后一个是远程的端口。
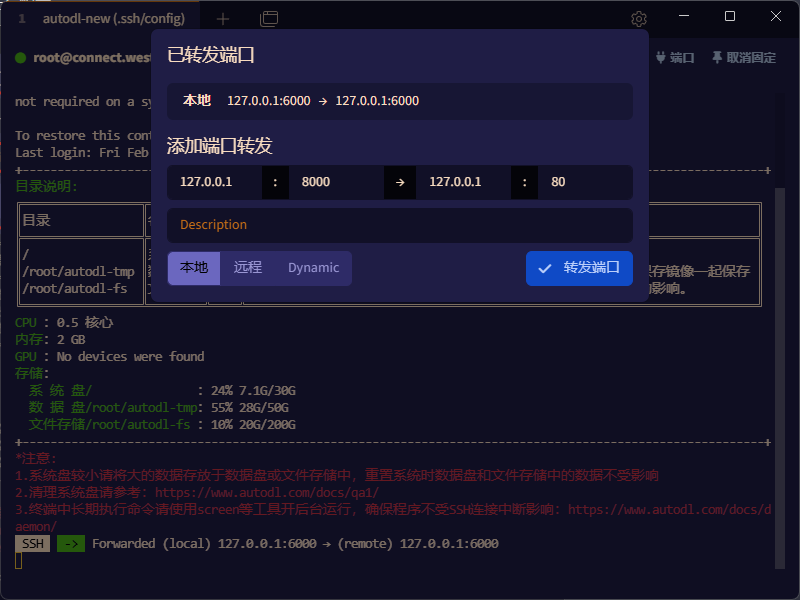
按照相同的操作,依次转发其他端口。
6000,6001,6002,6008,8000,8001,8002,8003
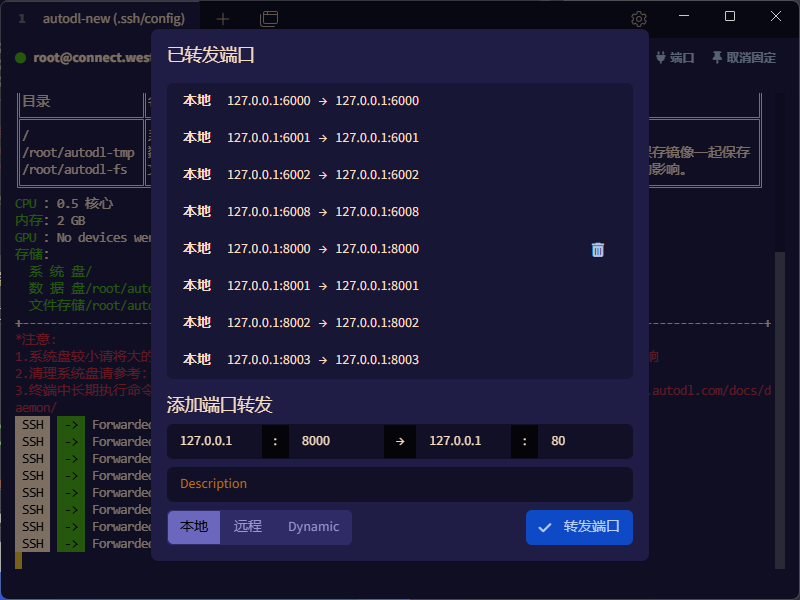
注意:要保持本地和远程之间的端口映射,当前终端窗口不能关闭。
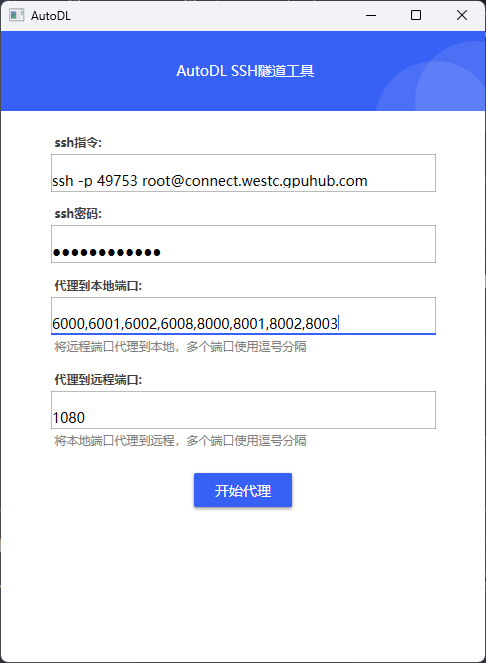
使用AutoDL官方工具
下载官方端口映射工具:https://autodl-public.ks3-cn-beijing.ksyuncs.com/tool/AutoDL-SSH-Tools.zip
将以下端口映射到本地:6000,6001,6002,6008,8000,8001,8002,8003
部署模型
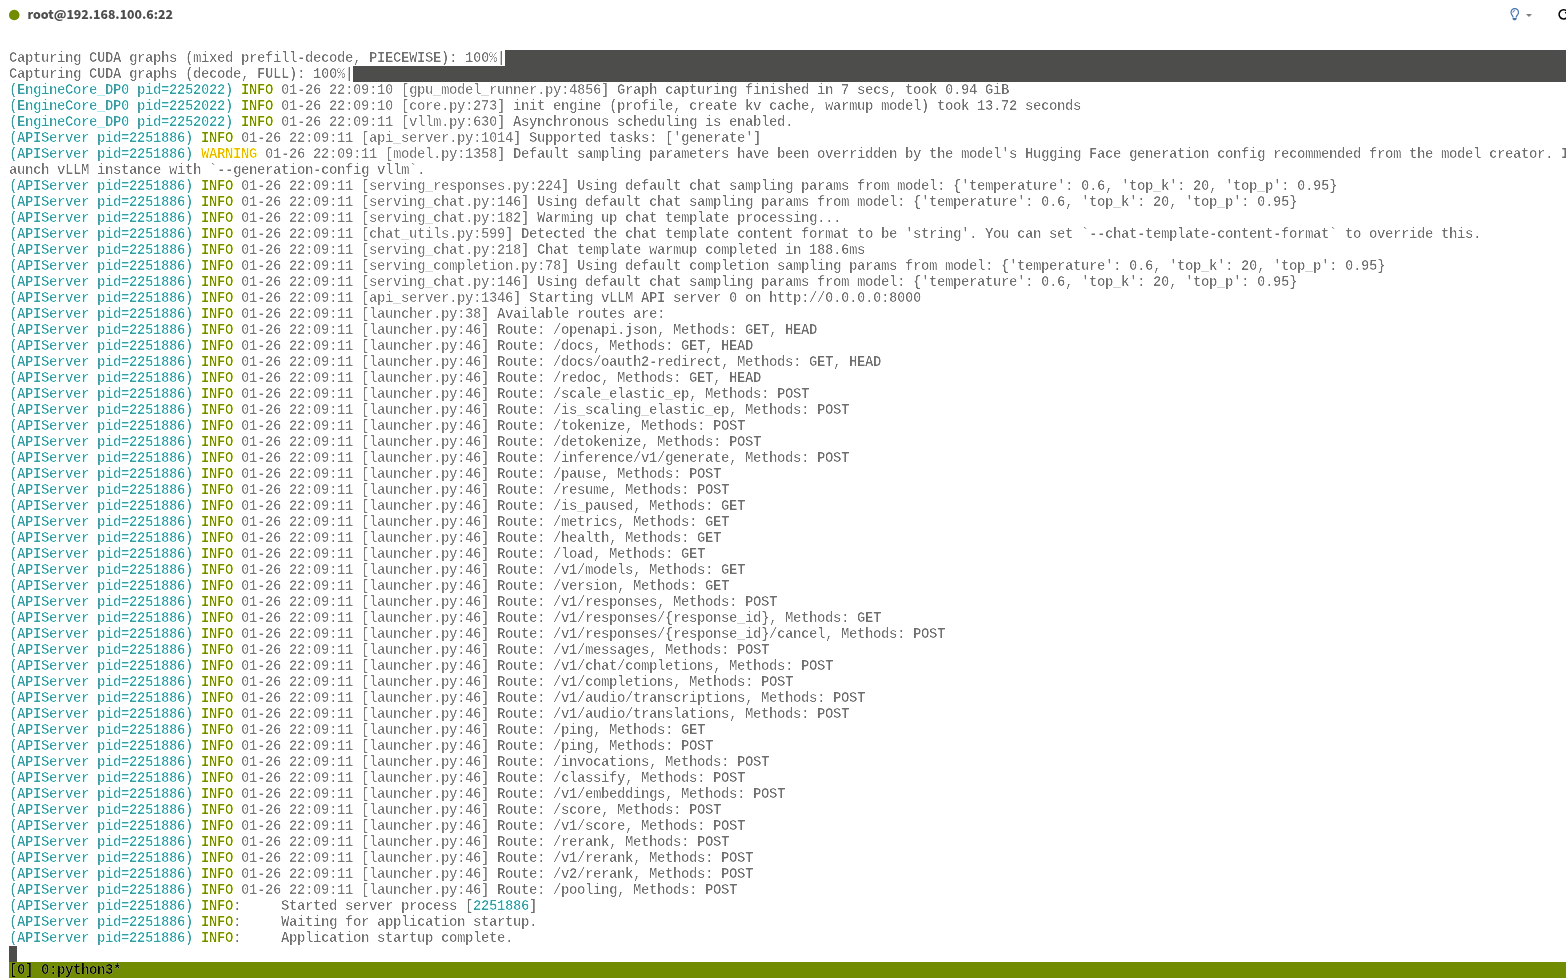
部署LLM
1 | cd ~/autodl-tmp && source .venv/bin/activate |
参数含义:
model_path:模型路径。served-model-name:服务的模型名词。api-key:模型服务请求的API-KEY。gpu-memory-utilization:GPU显存使用率。值越大,吞吐量可能更高,但可能影响其他进程;建议根据实际情况调整。host:服务绑定的 IP 地址。0.0.0.0表示监听所有网络接口,允许外部访问;127.0.0.1仅允许本地访问。port:服务监听的端口号。max-model-len:最大上下文长度。单次请求的最大token数(输入+输出),32768表示约32K tokens。超过此长度会被截断;值越大占用显存越多。enable-auto-tool-choice:启用tool_choice: "auto",Agent 工具调用时必须开启。tool-call-parser:工具调用解析器。指定函数/工具调用的解析方式,hermes适用于Hermes系列模型。用于支持函数调用(Function Calling)功能。trust-remote-code:信任远程代码。
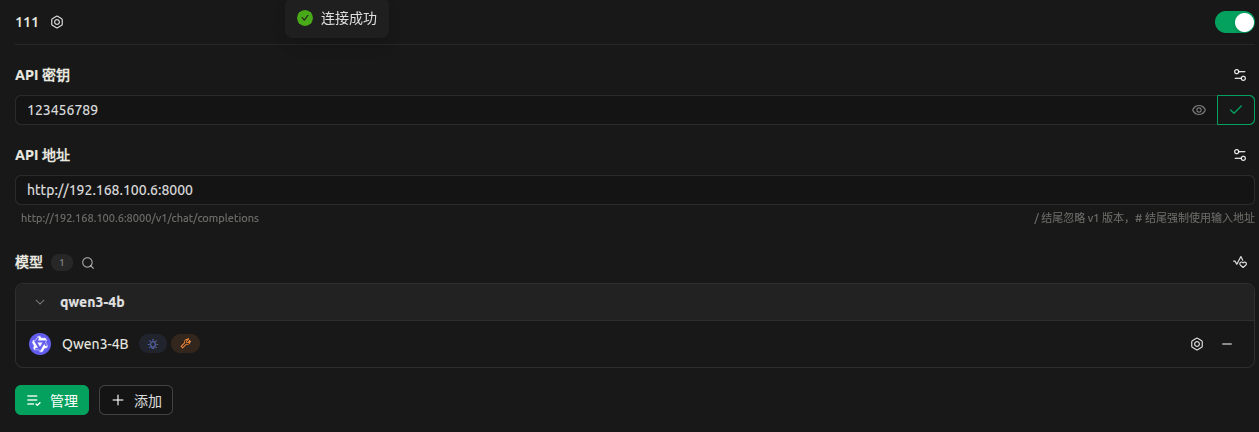
使用 cherry-studio测试如下所示:
对话测试: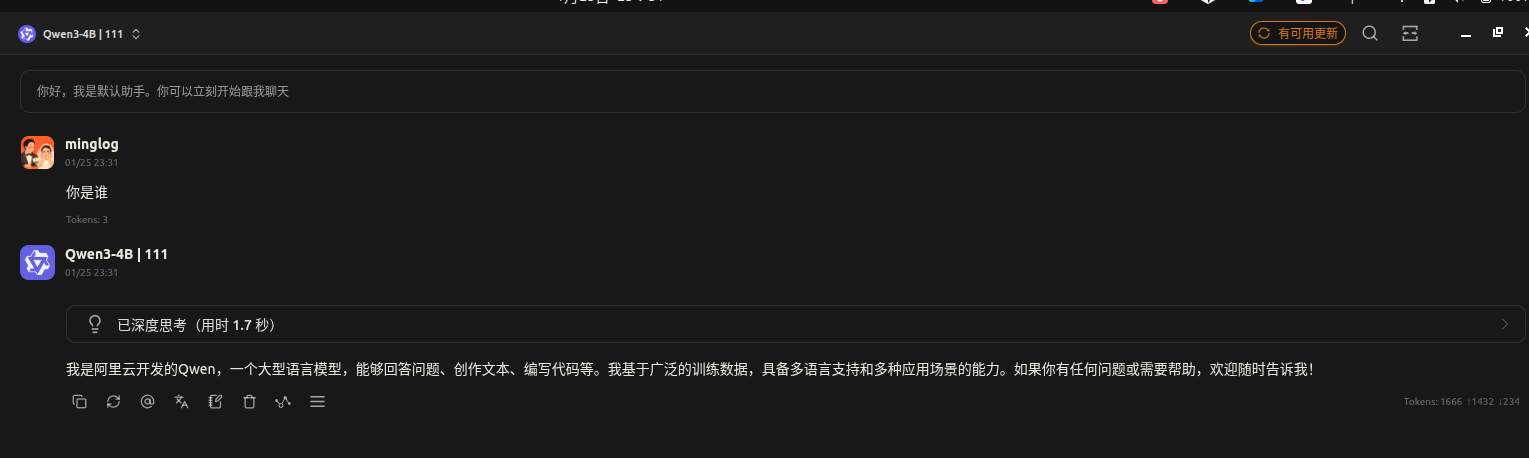
请求地址:
localhost:8000/v1/chat/completions请求方法:
POST请求头:
请求体:
2
3
4
5
6
7
8
9
10
11
12
"model": "qwen3-4b-awq",
"messages": [
{
"role": "user",
"content": "你好,请介绍一下你自己"
}
],
"temperature": 0.7,
"max_tokens": 1000,
"stream": false
}

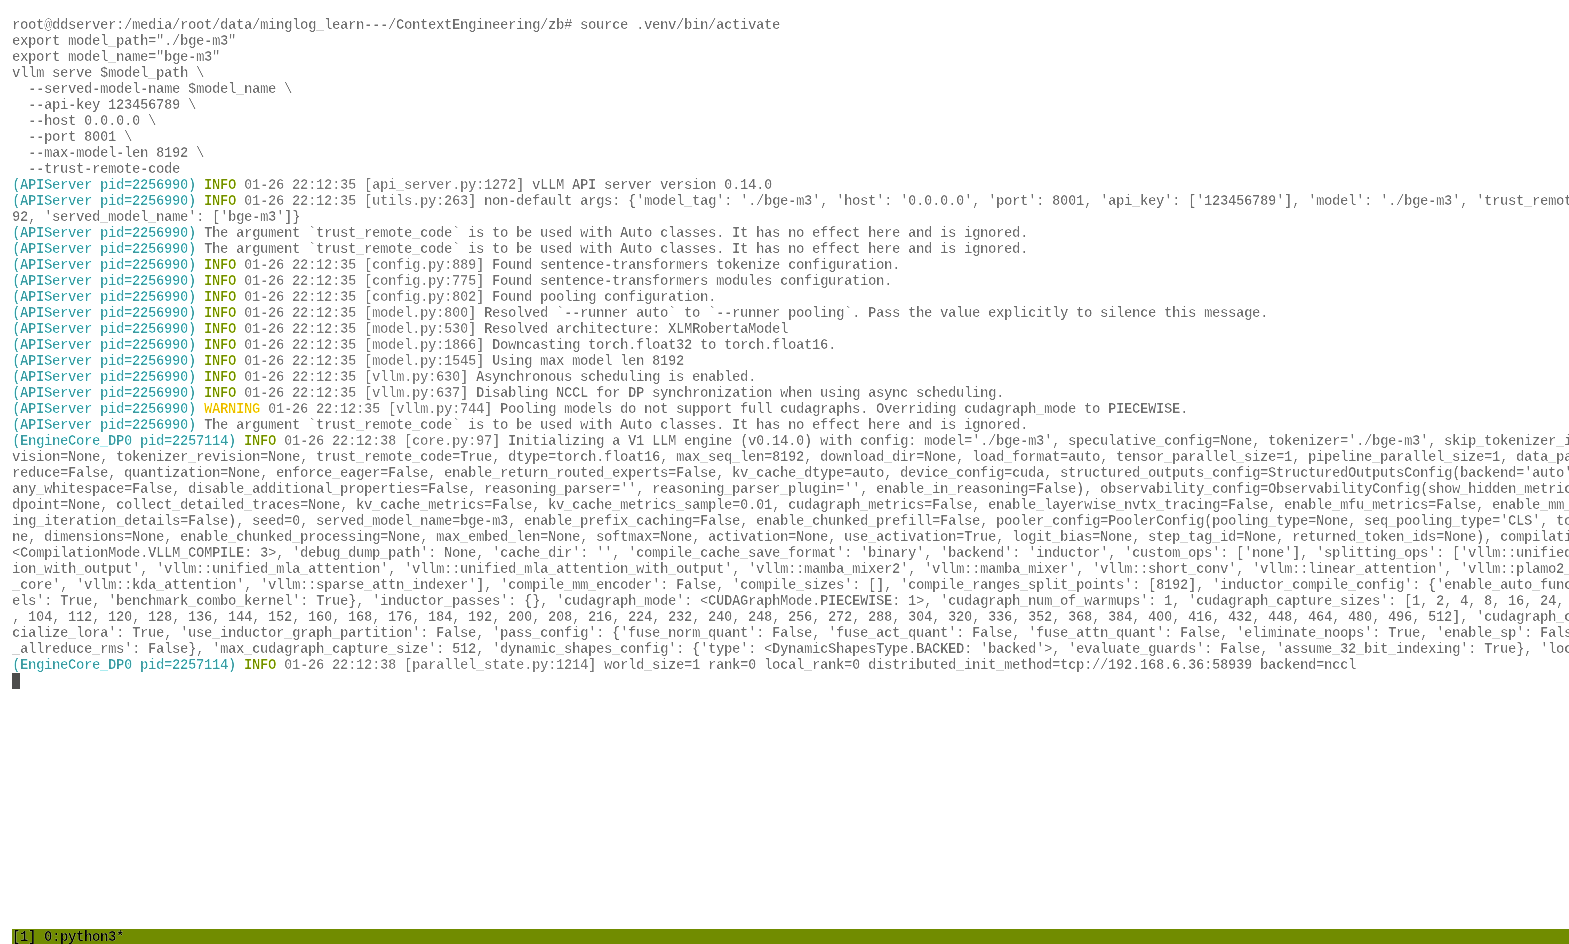
部署embedding模型
1 | cd ~/autodl-tmp && source .venv/bin/activate |
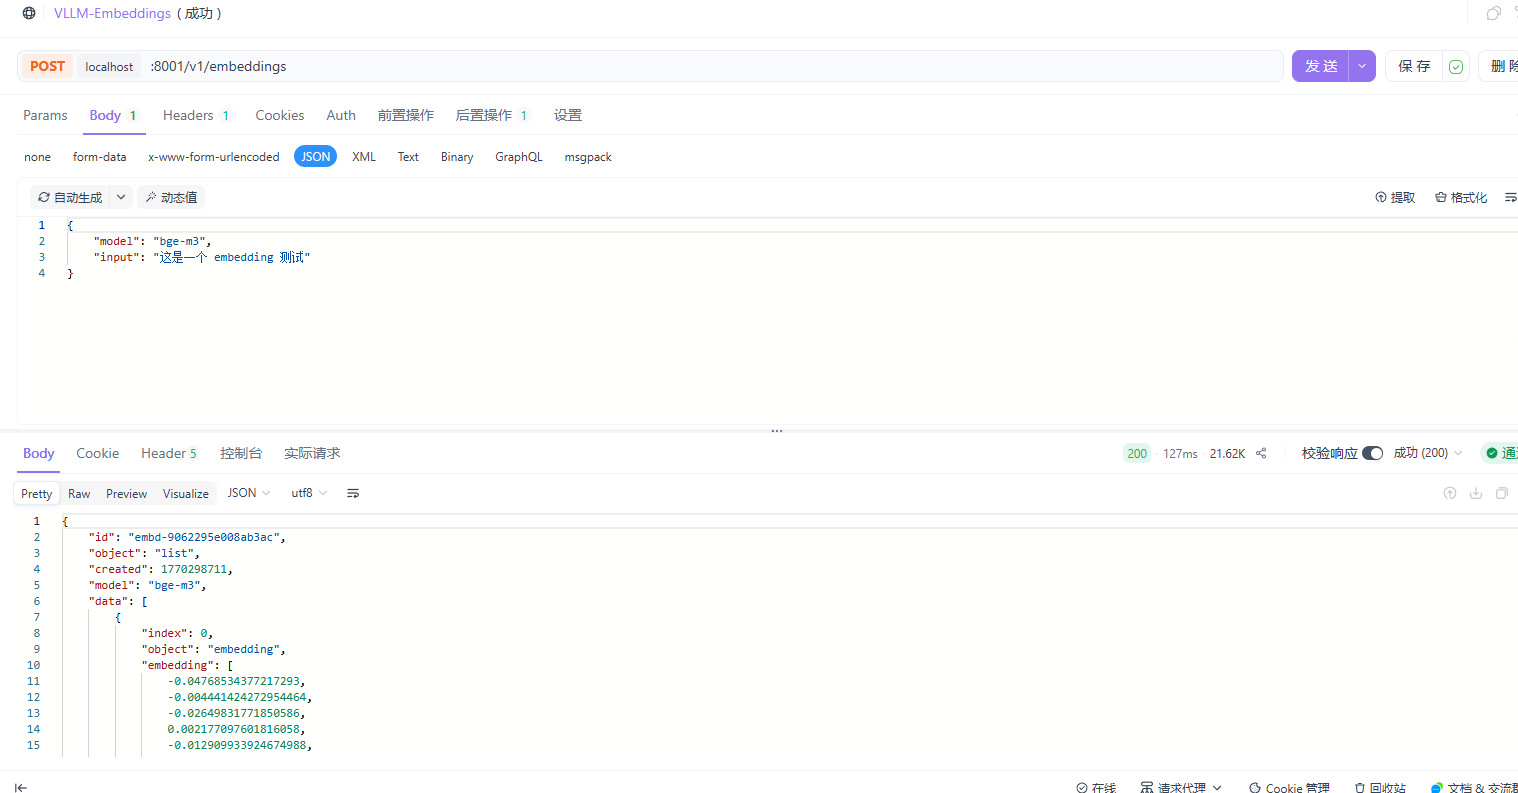
请求地址:
localhost:8001/v1/embeddings请求方法:
POST请求头:
请求体:
2
3
4
"model": "bge-m3",
"input": "这是一个 embedding 测试"
}
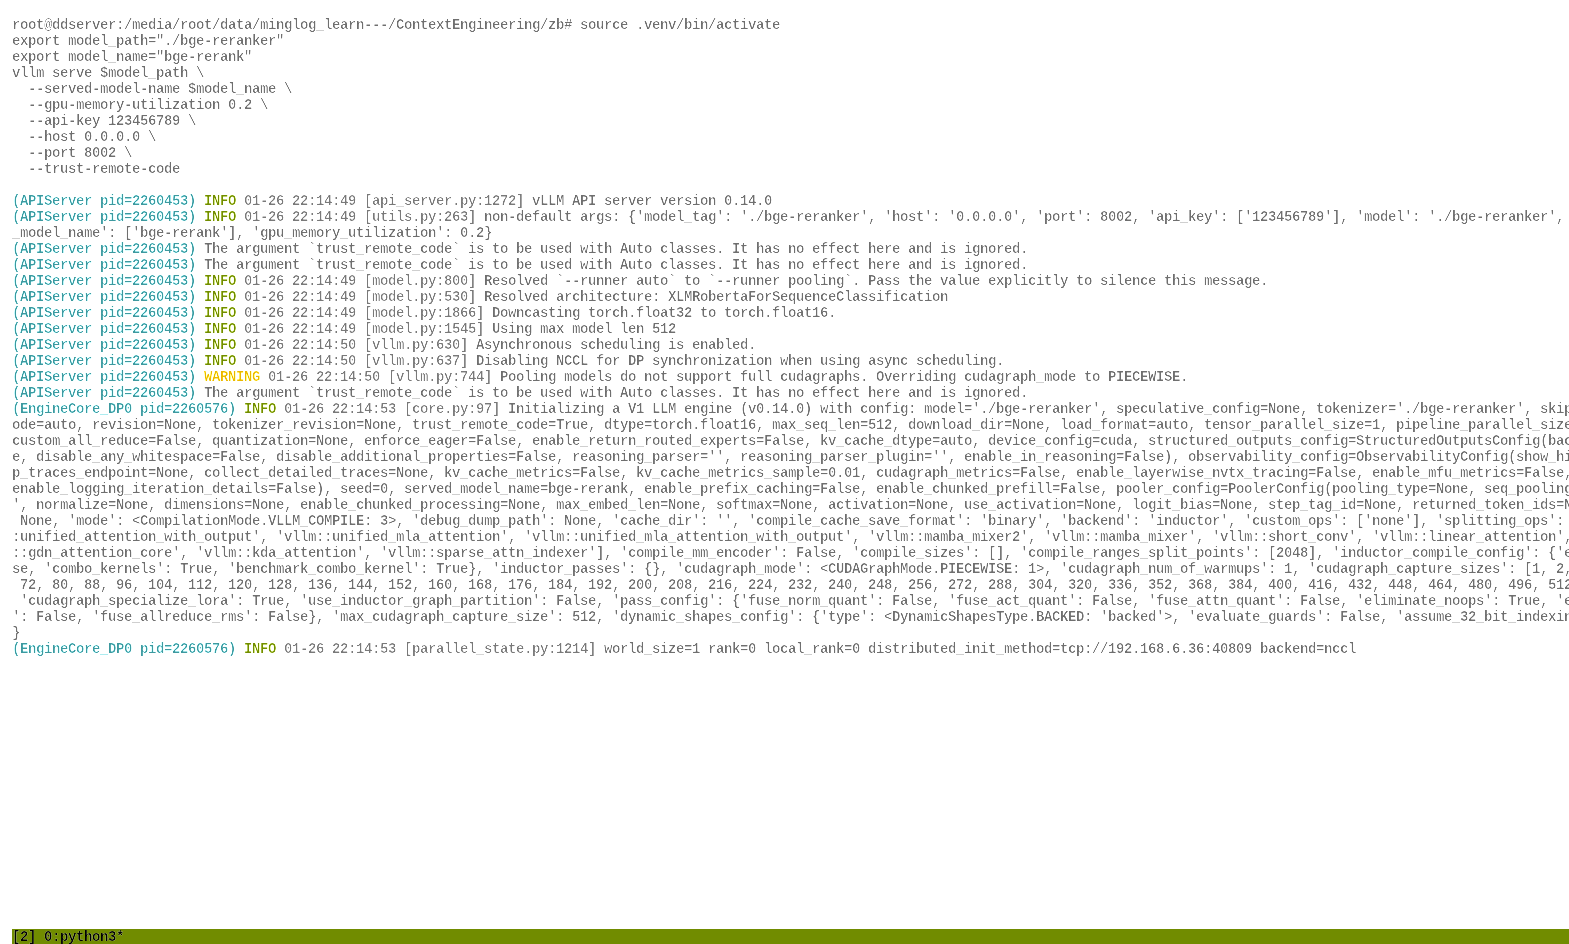
部署rerank模型
1 | cd ~/autodl-tmp && source .venv/bin/activate |
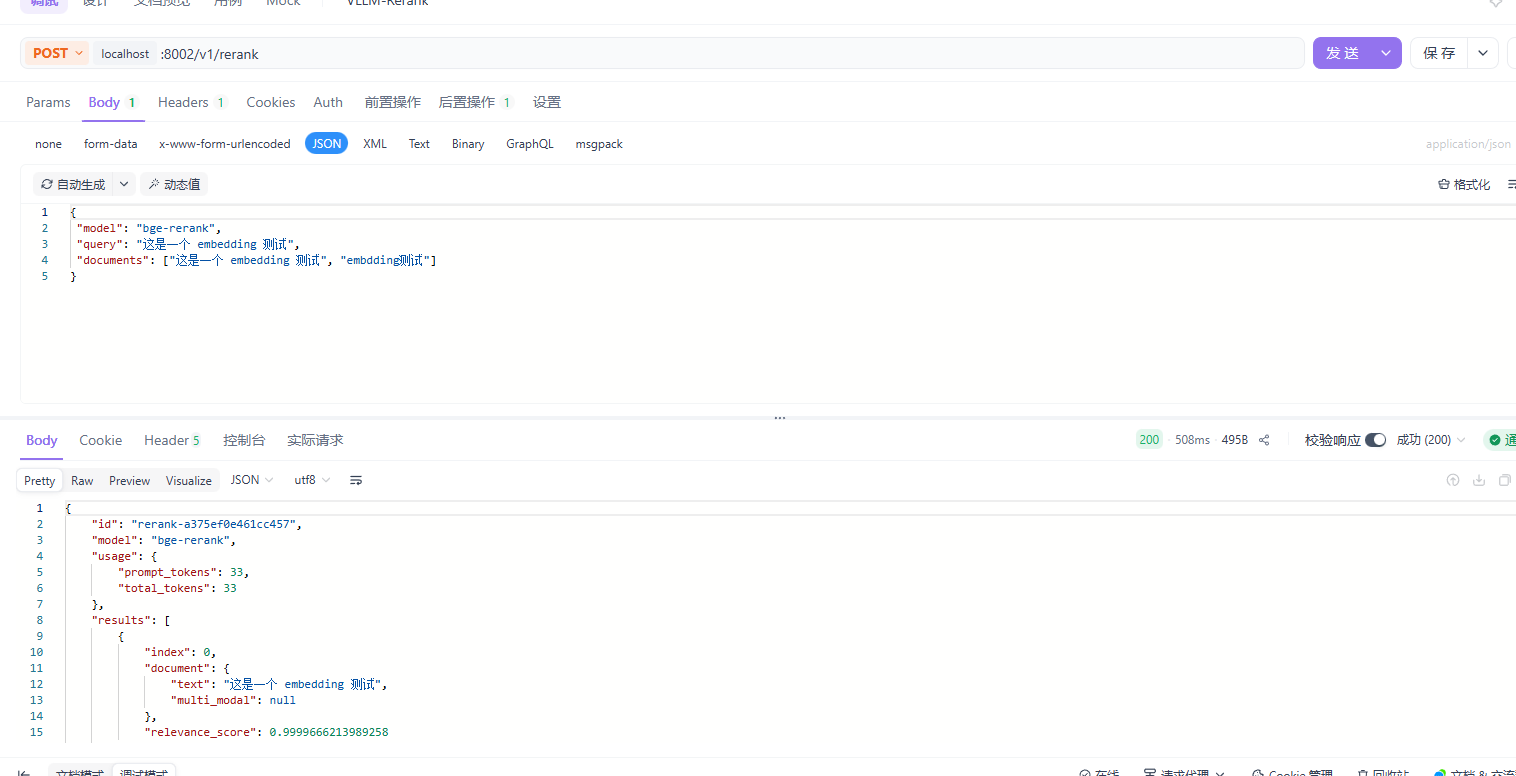
请求地址:
localhost:8002/v1/rerank请求方法:
POST请求头:
请求体:
2
3
4
5
"model": "bge-rerank",
"query": "这是一个 embedding 测试",
"documents": ["这是一个 embedding 测试", "embdding测试"]
}
后台启动服务
下载 tmux
1 | apt install tmux |
下载完成后,输入
1 | tmux |
即可进入 tmux终端,然后在 tmux终端中启动 vllm部署 LLM
1 | cd ~/autodl-tmp && source .venv/bin/activate |

然后依次输入 CTRL+B,然后再输入 D,即可挂起 tmux终端。
此时,输入
1 | tmux ls |
即可看到,tmux后台已经挂起了一个终端。

输入
1 | tmux at -t 0 |
即可再次进入挂起的终端。
同理,再开启两个
tmux终端,部署embedding模型和rerank模型。
最后,一共会挂起3个
tmux终端。